Temporary Fencing
How To Easily Install Portable Temporary Fencing
Table of contents
As a new project begins, it’s vital to understand how to build a Temporary Fence around a construction site.
It is required by law in Australia to erect Temporary Fencing around a worksite for a multitude of reasons, including worker and public safety. If an accident occurs and it is discovered that there was insufficient, unsafe, or simply no fencing, the liability costs are high.
The Scafeast team understands this and has devised a comprehensive guide to erecting a portable fence in an easy manner. The steps involved are:
Inspect Equipment And Survey The Site
With any new or old equipment, workers should know the condition of their materials and tools to ensure they do not pose a future risk. Panels, clamps, bases, stays, and fence mesh are all vital components. A spanner is also required for fixing adjacent panels together. Once everything has been thoroughly inspected, it is time to survey the worksite.
Before placing the first base down, think about your surroundings. Some questions to ask are:
Is The Terrain Flat or Uneven?
If you are not working with an even surface, using a shovel to flatten out bumps will aid you when building a fence and leave it more secure.
Is The Location Exposed to Strong Wind?
Strong winds can complicate tasks. In exposed areas, it’s worth securing your panels with additional strut bracing to prevent toppling.
Will Placing a Panel Here Create Any Hazards?
Watch where you are placing your concrete feet. If it intrudes on a footpath, you need to move them inwards toward the site and eliminate the tripping hazard.
How Should I Layout my Stays?
There will always be jobs on steep inclines, and you should be thinking about the placement of braces to further fortify your fencing.
If you have asked yourself these queries and addressed the issues, it is time to begin the installation.
Secure The Fence Base
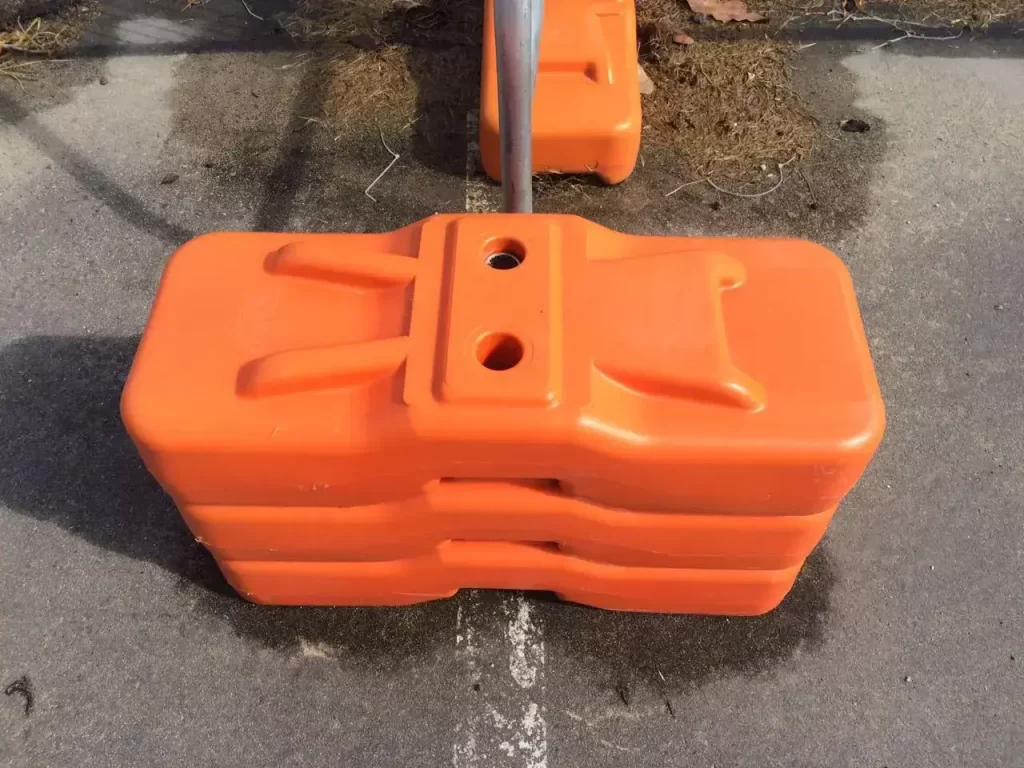
Temporary Fence Feet must be equally spaced across the perimeter where your fence will stand. It is important to remember when placing bases that they remain out of public spaces. The last thing anyone needs is a tripping hazard from an exposed base on an adjacent footpath.
Erect Temporary Fence Panels
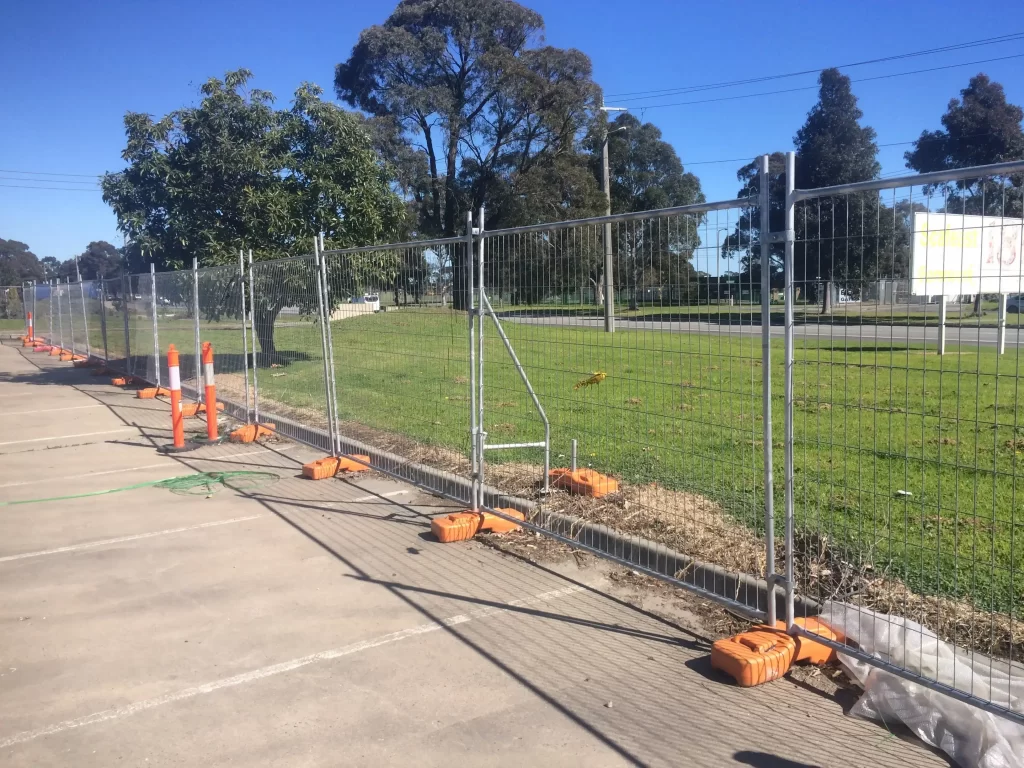
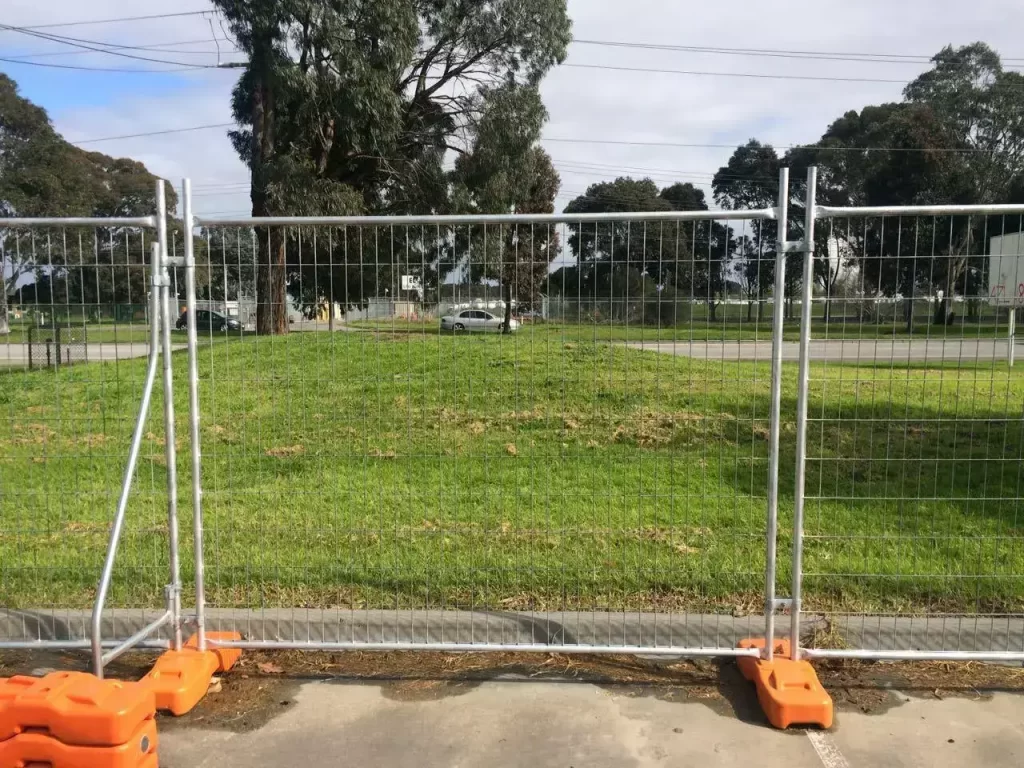
The area has been surveyed, you have the necessary equipment, it’s now time to build the temporary fence starting with the panels. Place the first vertical leg post of your panel into one of the concrete base holes before placing the second leg post into the base at the opposite end. The panel will be able to stand freely now without your support. You can now install more panels along the edge of the site, fitting one post into the previous block.
Install Temporary Fence Clamps
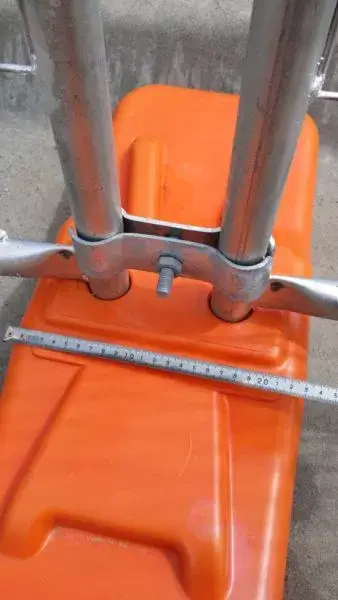
Once you erect multiple neighbouring fence panels, you can begin attaching them to each other with temporary fence clamps. Place clamps at the top of the vertical posts and firmly tighten the nut & bolt using a spanner. For the panels to be as secure as possible, have the nut and bolt facing the inwards toward the site to further reduce hazards. This setup also prevents anyone outside from tampering with the fence.
It is important to note that clamps can fit after each panel is erected or after all are standing. Clamps can also be further down from the top of the post. This is up to your personal preference.
Attach The Stays
The panels are up, and it’s time to secure them from toppling by attaching stays. Installed facing inwards, connect them using clamps at the bottom and middle of the vertical post. Stays should then be weighed down by additional concrete bases. It is recommended that you repeat this for every fifth panel.
Secure The Fence Mesh
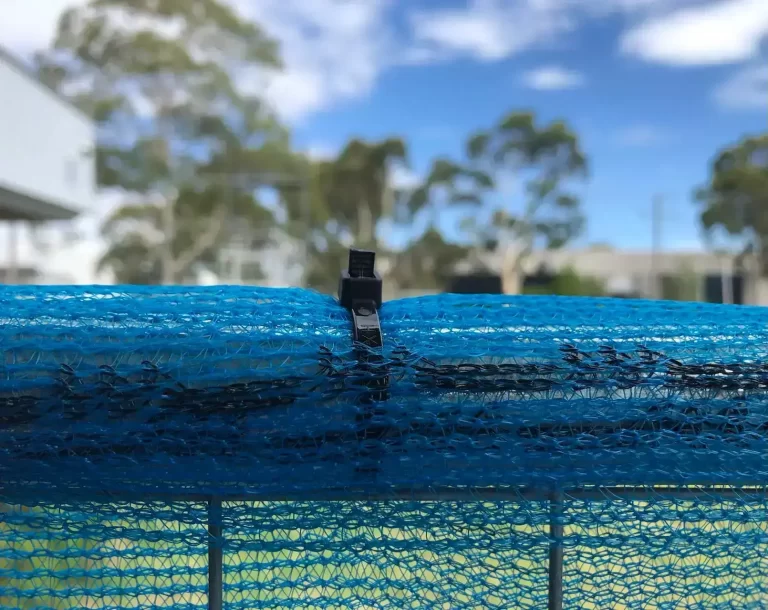
You may want or be legally required to install Temporary Fence Mesh along with your fencing for sunblock, privacy, and blocking debris. It is simply a matter of unrolling the Shade Cloth and attaching it to the fence using cable ties or tie wire.
But That’s Not All
So you know how to build a Temporary Fence, but the work doesn’t stop there. Throughout the duration of the job, it’s vital that regular checks be conducted to ensure the safety and structural integrity of the fence. Wind, rain, sunlight, and mud all have an effect, and inspection can help your equipment last longer and be in better condition.

